The manual, which you may already have, is here:
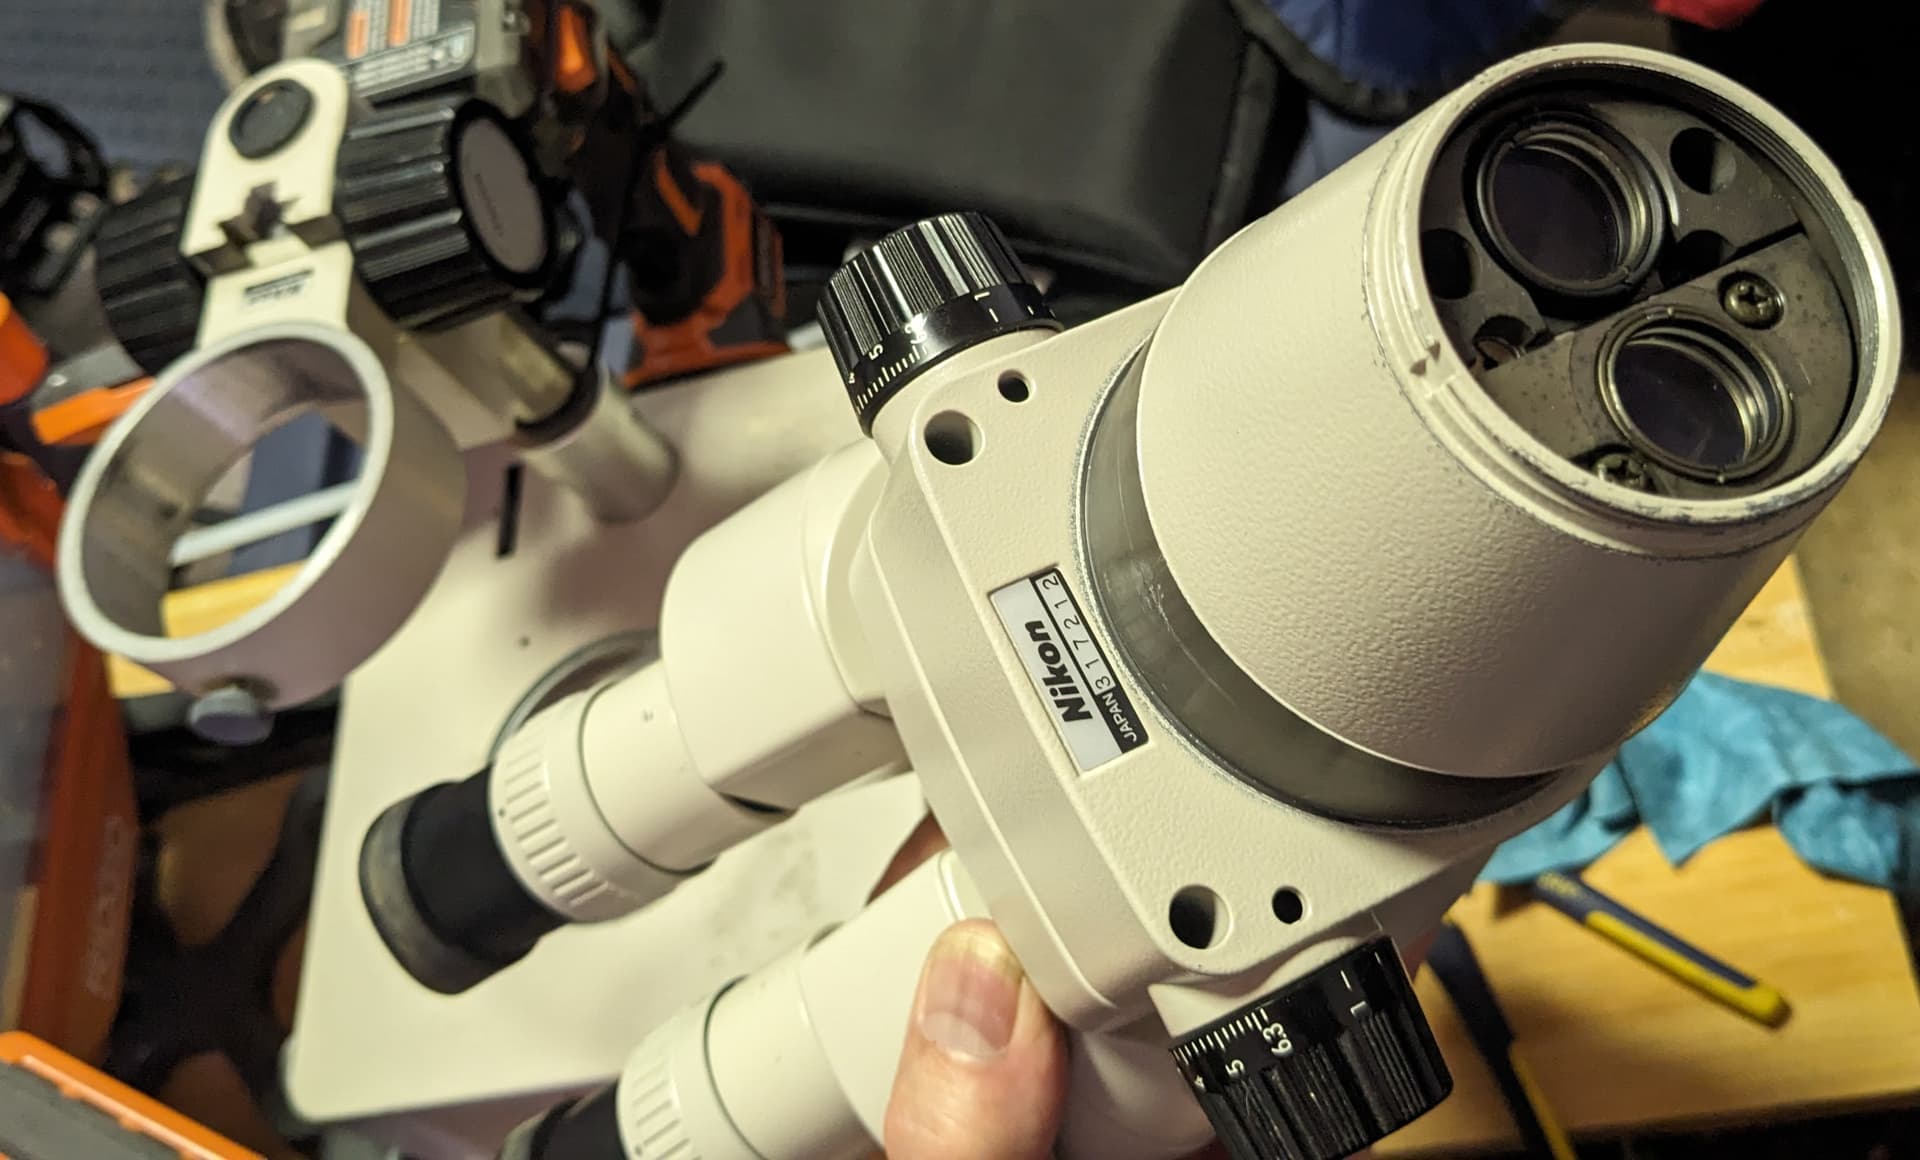
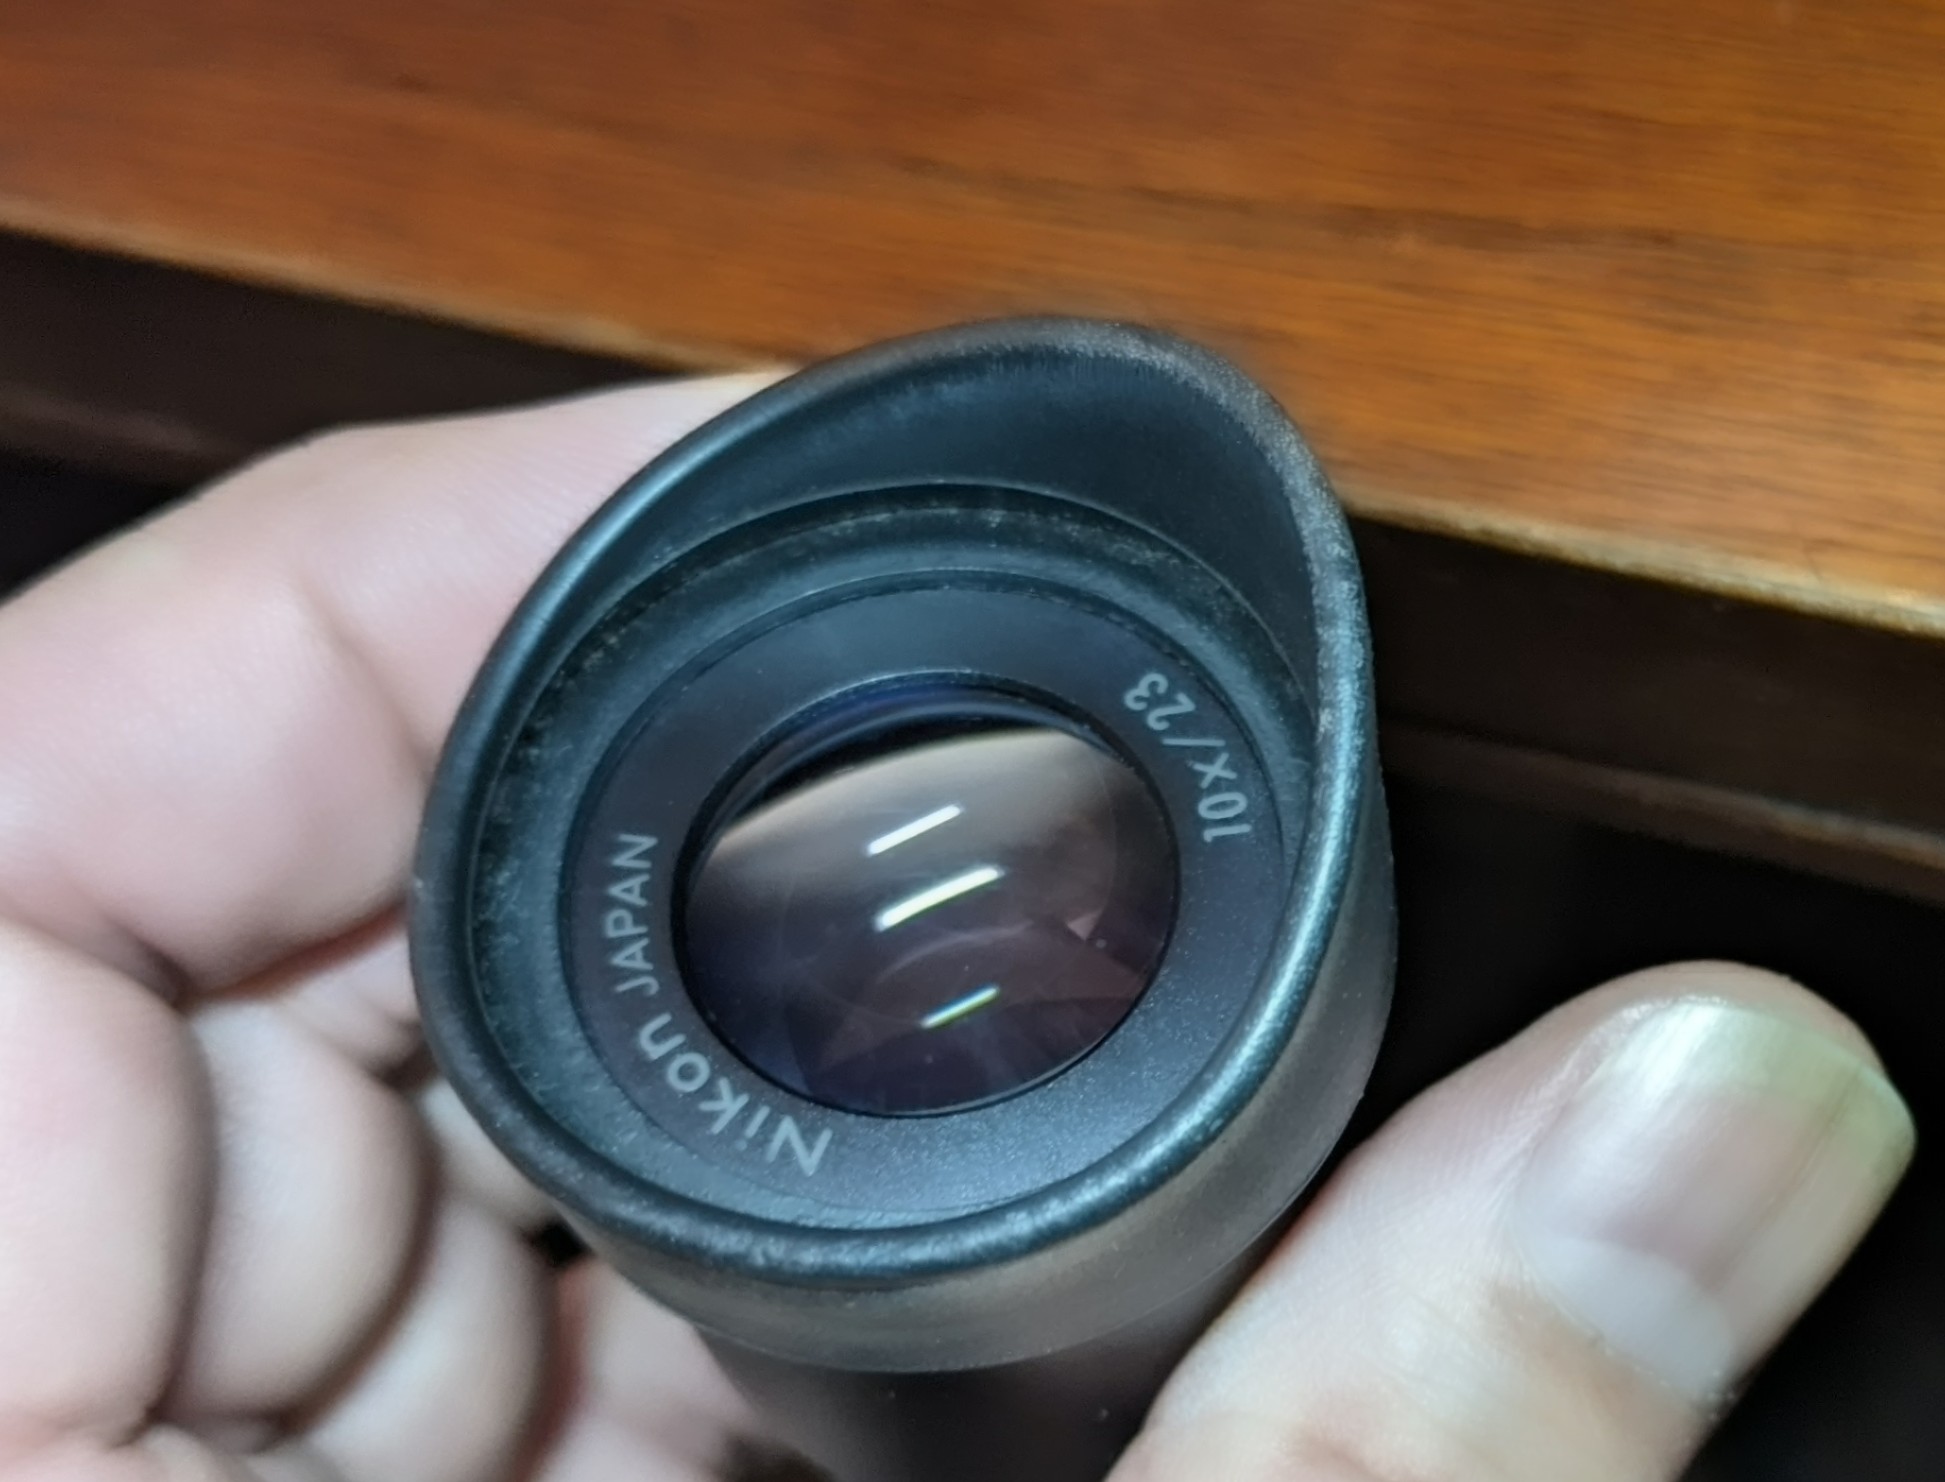
The second page gives the magnification table and it looks
like you can get up to 63X with what you have. If I’m remembering right
from my GIA gemologist training (1996), for some stones 60X to see the
flame fusion synthetic curved striae may be needed. As far as beyond
that, I wouldn’t worry about it until I had made sure I could use it well.
It looks like you have the model with the port for a camera to take photos
of inclusions, so that is good. I would figure a way to add on a gem tweezer
like on the gemological microscopes so you could have your hands free
and easily position your rough the way you want it. When you get up to
the higher powers (which you won’t really use very much) the depth of
field is so shallow that you can’t hold the stone still enough. The tweezers
should rotate and possibly go up and down a little. They are available cheap
on Ebay ($12-15??) and you can glue the base to the scope or tape it if
you think you’ll be moving it.
I would look for an LED replacement lamp for the overhead light fixture. It is
probably a bayonet mount and there are LEDs in that mount available. Decide
what color temperature you want, which is only important when you go to color
grading. I went with daylight because that’s what Gemworld International’s
Guide uses for color grading, altho’ this is perhaps splitting hairs…
Before you go off buying another set of eyepieces or the auxilliary add-on objective,
I would look at photos of inclusions for the naturals and synthetics that you are
interested in and see what magnification they used. Those photos are for teaching
purposes, so you perhaps don’t need quite that much if all you need is a visual ID,
but it is going to be in that range.
Spend some hours with the scope and if/when you feel comfy with it and can see
stuff by turning and changing the lighting, then you can find a small immersion
fluid cell, which could be a baby food jar or similar or an actual purpose-built
immersion cell. If you use a hand tweezer, you can probably rest the rough item
on the bottom of the cell and turn it various ways pretty easily. I have not done a
lot of this myself, but ask me in a few weeks, because I’m getting very serious
about evaluating rough and that means immersion fluid and low power (7 to 15X,
mostly)…just to get close to “eye clean” in the finished stones if possible. For the fluid,
use benzyl benzoate, which is pretty non-toxic and works well for most species
from quartz to the garnets.
You may want to fiddle around to get something approximating dark field
illumination at some point, but if you’ve read Hanneman’s book, he tells about that
and I’m not sure it’s necessary for rough evaluation. Use a frosted plate, though,
because you don’t want the light blasting at you. You might want to get a diaphragm
to close down the light, but you could accomplish this with a set of washers or even
paper washers which fit the diameter of the light. Or get creative with that. If you got
the hole in the washer up off the stage, you could rest your rough in the hole. With
the immersion cell, you could set it right on the stage on top of any stopped down
circle, or see if something elevated would work better…I’m not sure. Another option
is a small LED light or two on a flexible stalk, kind of like the fiber optic illuminators,
but much cheaper and probably will work OK. Think Dollar Tree on this.
Just use my email address and Paypal me the consulting fee on this, I’m at
$100/hr, but I’ll discount to $50 for you. Once again, help, I’m talking about
gemology and can’t shut up.
-royjohn